I use the RAW mode of my cameras for my photos, as with 214 bits per colour channel, many more colour gradations are displayed than with JPEGs with 28 gradations. This results in greater reserves for image processing.
All the photos I show here or elsewhere are edited, starting with cropping, contrast, brightness, colours and sharpness. Disturbing elements such as sensor spots, water stains on the front lens or other elements that disturb or distract from the subject are also removed. I want to stay as close as possible to the original shooting situation and refrain from replacing the background or sky or making other large-scale changes.
Software
I have installed the following software:
- Adobe Lightroom Classic
- Adobe Photoshop
- Topaz DeNoise AI
- Topaz Sharpen AI
- Topaz Gigapixel AI
- Zerene Stacker
The hardware
For image processing, I use a powerful CAD computer with an Intel Xeon CPU, 64 GB RAM and an NVidia Quadro P2000 graphics card, which is unfortunately a little weak for the purpose. I use a DELL S2721QS as my monitor.
In addition to the mouse, I use a graphics tablet, the Wacom Intuos Pro M, for working with masks.
For me, Adobe Lightroom is the central software for data management and image editing. As Lightroom works with a database, the first step is to import the images into it. At the same time, the images are moved to the NAS and renamed according to my specifications. In addition, all development settings are brought to a basic setting and the first metadata is provided with my contact details and the copyright notice. The previews are also created in Lightroom.
When editing my photos, I generally follow a multi-step process:
- Noise reduction and lens corrections
- Selecting a colour profile in Lightroom
- Straightening and cropping
- Simple retouching
- Global adjustments
- Local adjustments using masks
- Resizing to standard dimensions
- More complex retouching to remove distracting elements
- Sharpening
As I usually work in Raw mode, I currently use DXO PureRaw for noise reduction. Although Lightroom produces roughly the same results, it does not create a DNG file, which I require in order to achieve a complete separation between the original file and the edited file.
I modify the size, carry out more extensive retouching and apply final sharpening in Adobe Photoshop.
I apply noise reduction to my footage at the start of the editing process, as I’ve found that noise reduction and lens corrections can alter the final image.
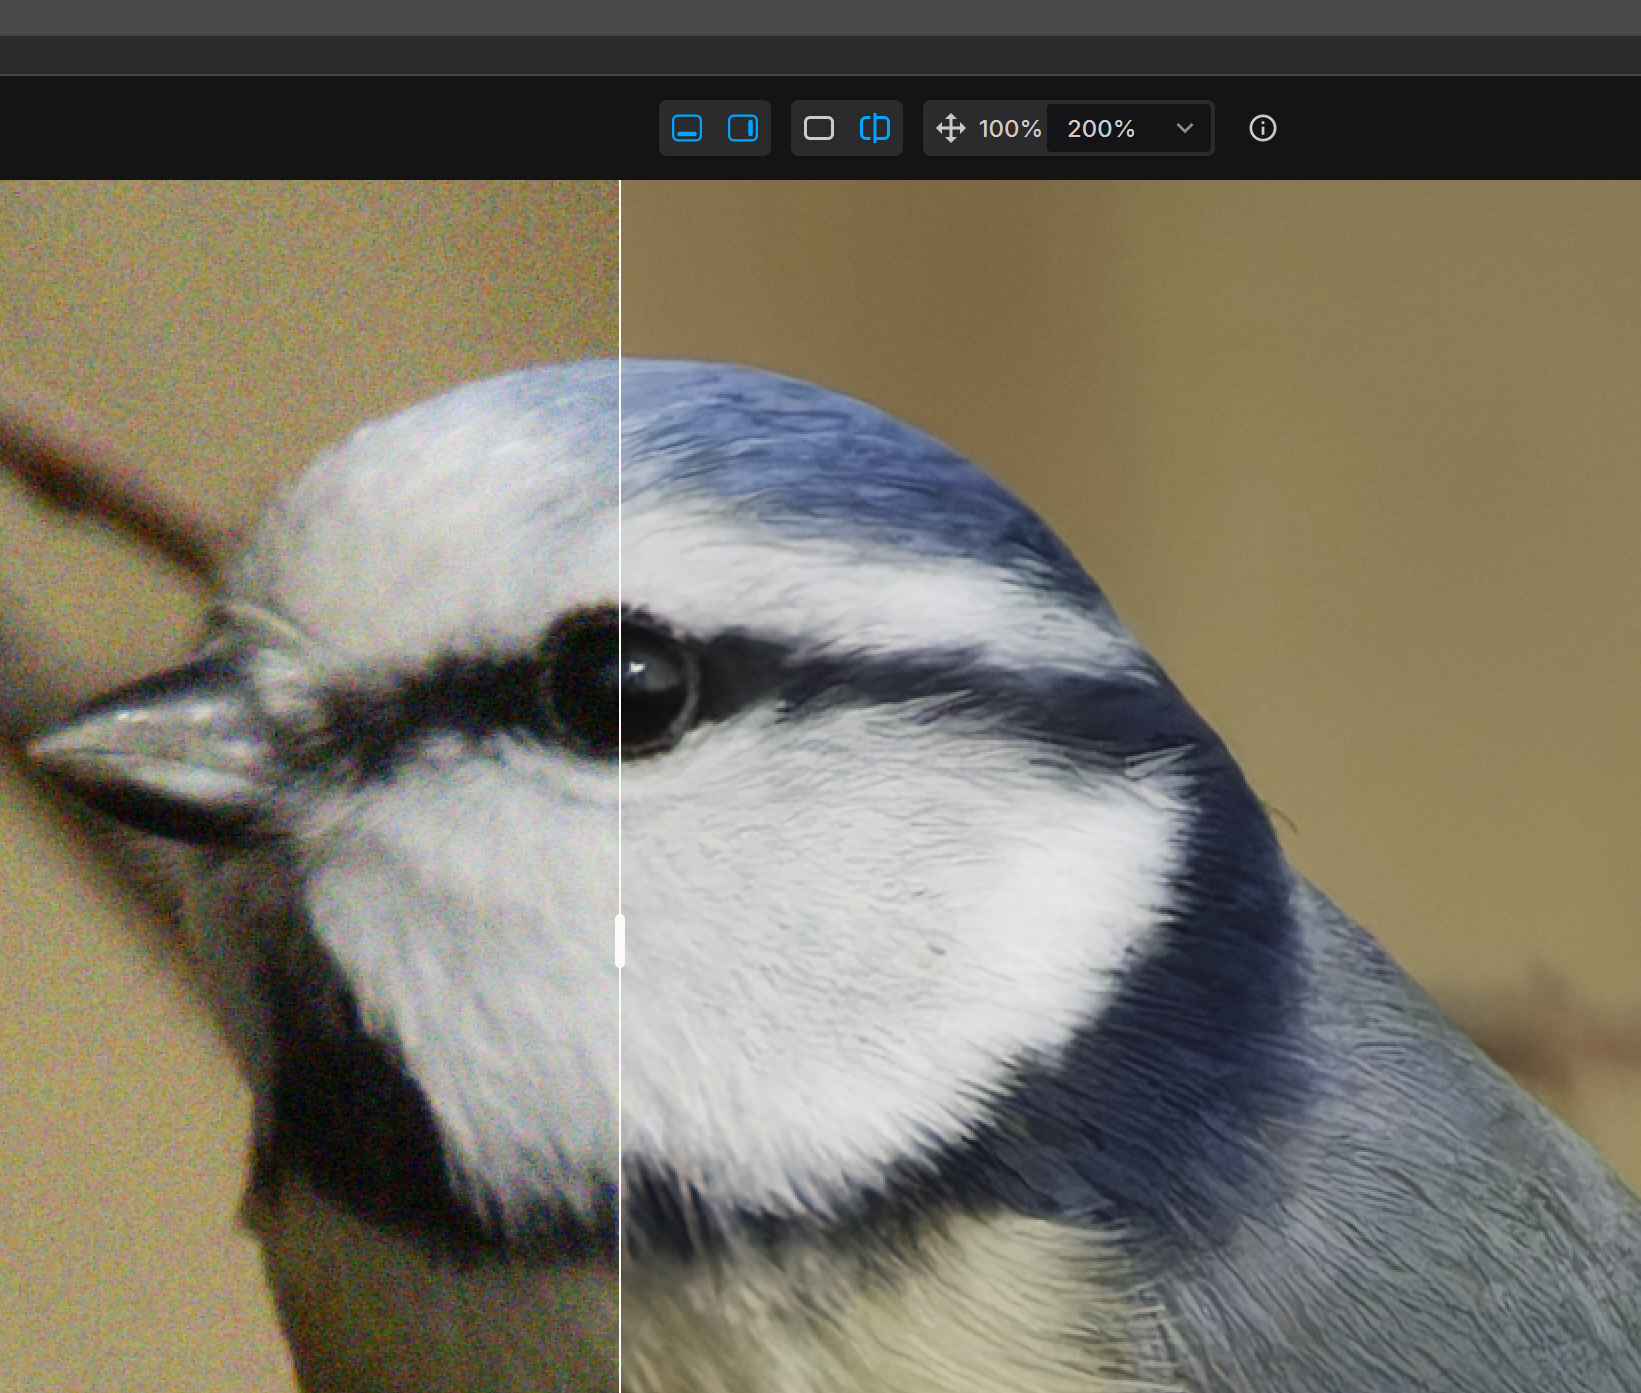
Using the “Preview and edit with DXO Pure Raw” option, I export the image I want to edit to DXO Pure Raw. In the 200% split-screen view, I move the split so that it covers the most important part of the image, which is usually an eye.
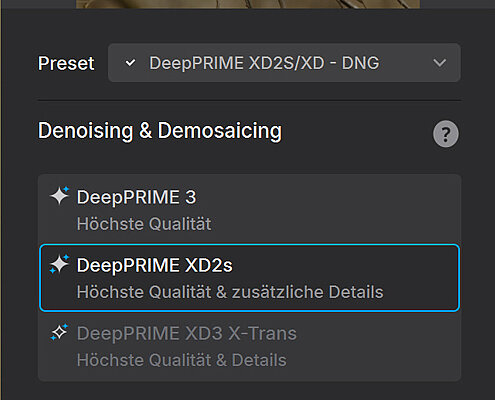
The “Denoising & Demosaicing” section offers several presets; I usually use the “DeepPrime XD2s” preset. It does take a bit longer, but it seems to give slightly better results
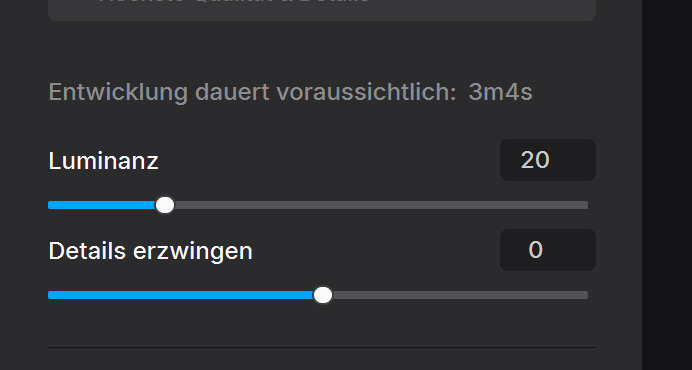
If the recording is de-noised too much, it can look unnatural, so I reduce the level of de-noising just enough for a little noise to reappear.
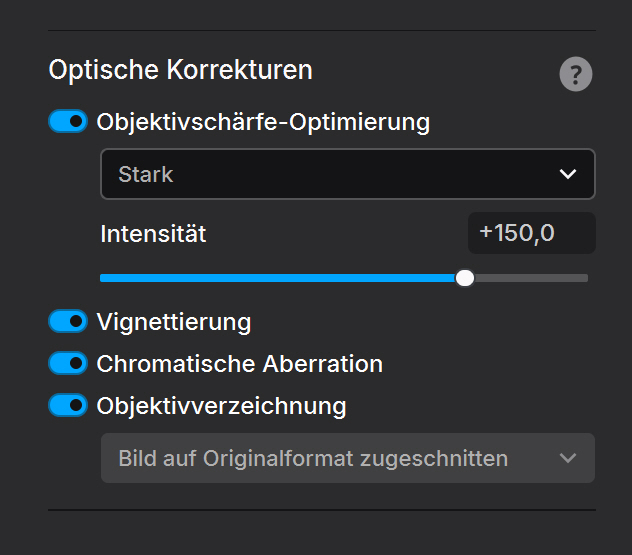
DXO PureRaw offers the option to sharpen images during noise reduction. Here, I adjust the sharpness so that no halo appears on high-contrast edges. The drop-down menu offers five levels. At the same time, the sharpness can also be adjusted using the slider.
In addition, lens corrections, vignette removal and correction of chromatic aberrations are also available here.
1.2 Denoising other file formats
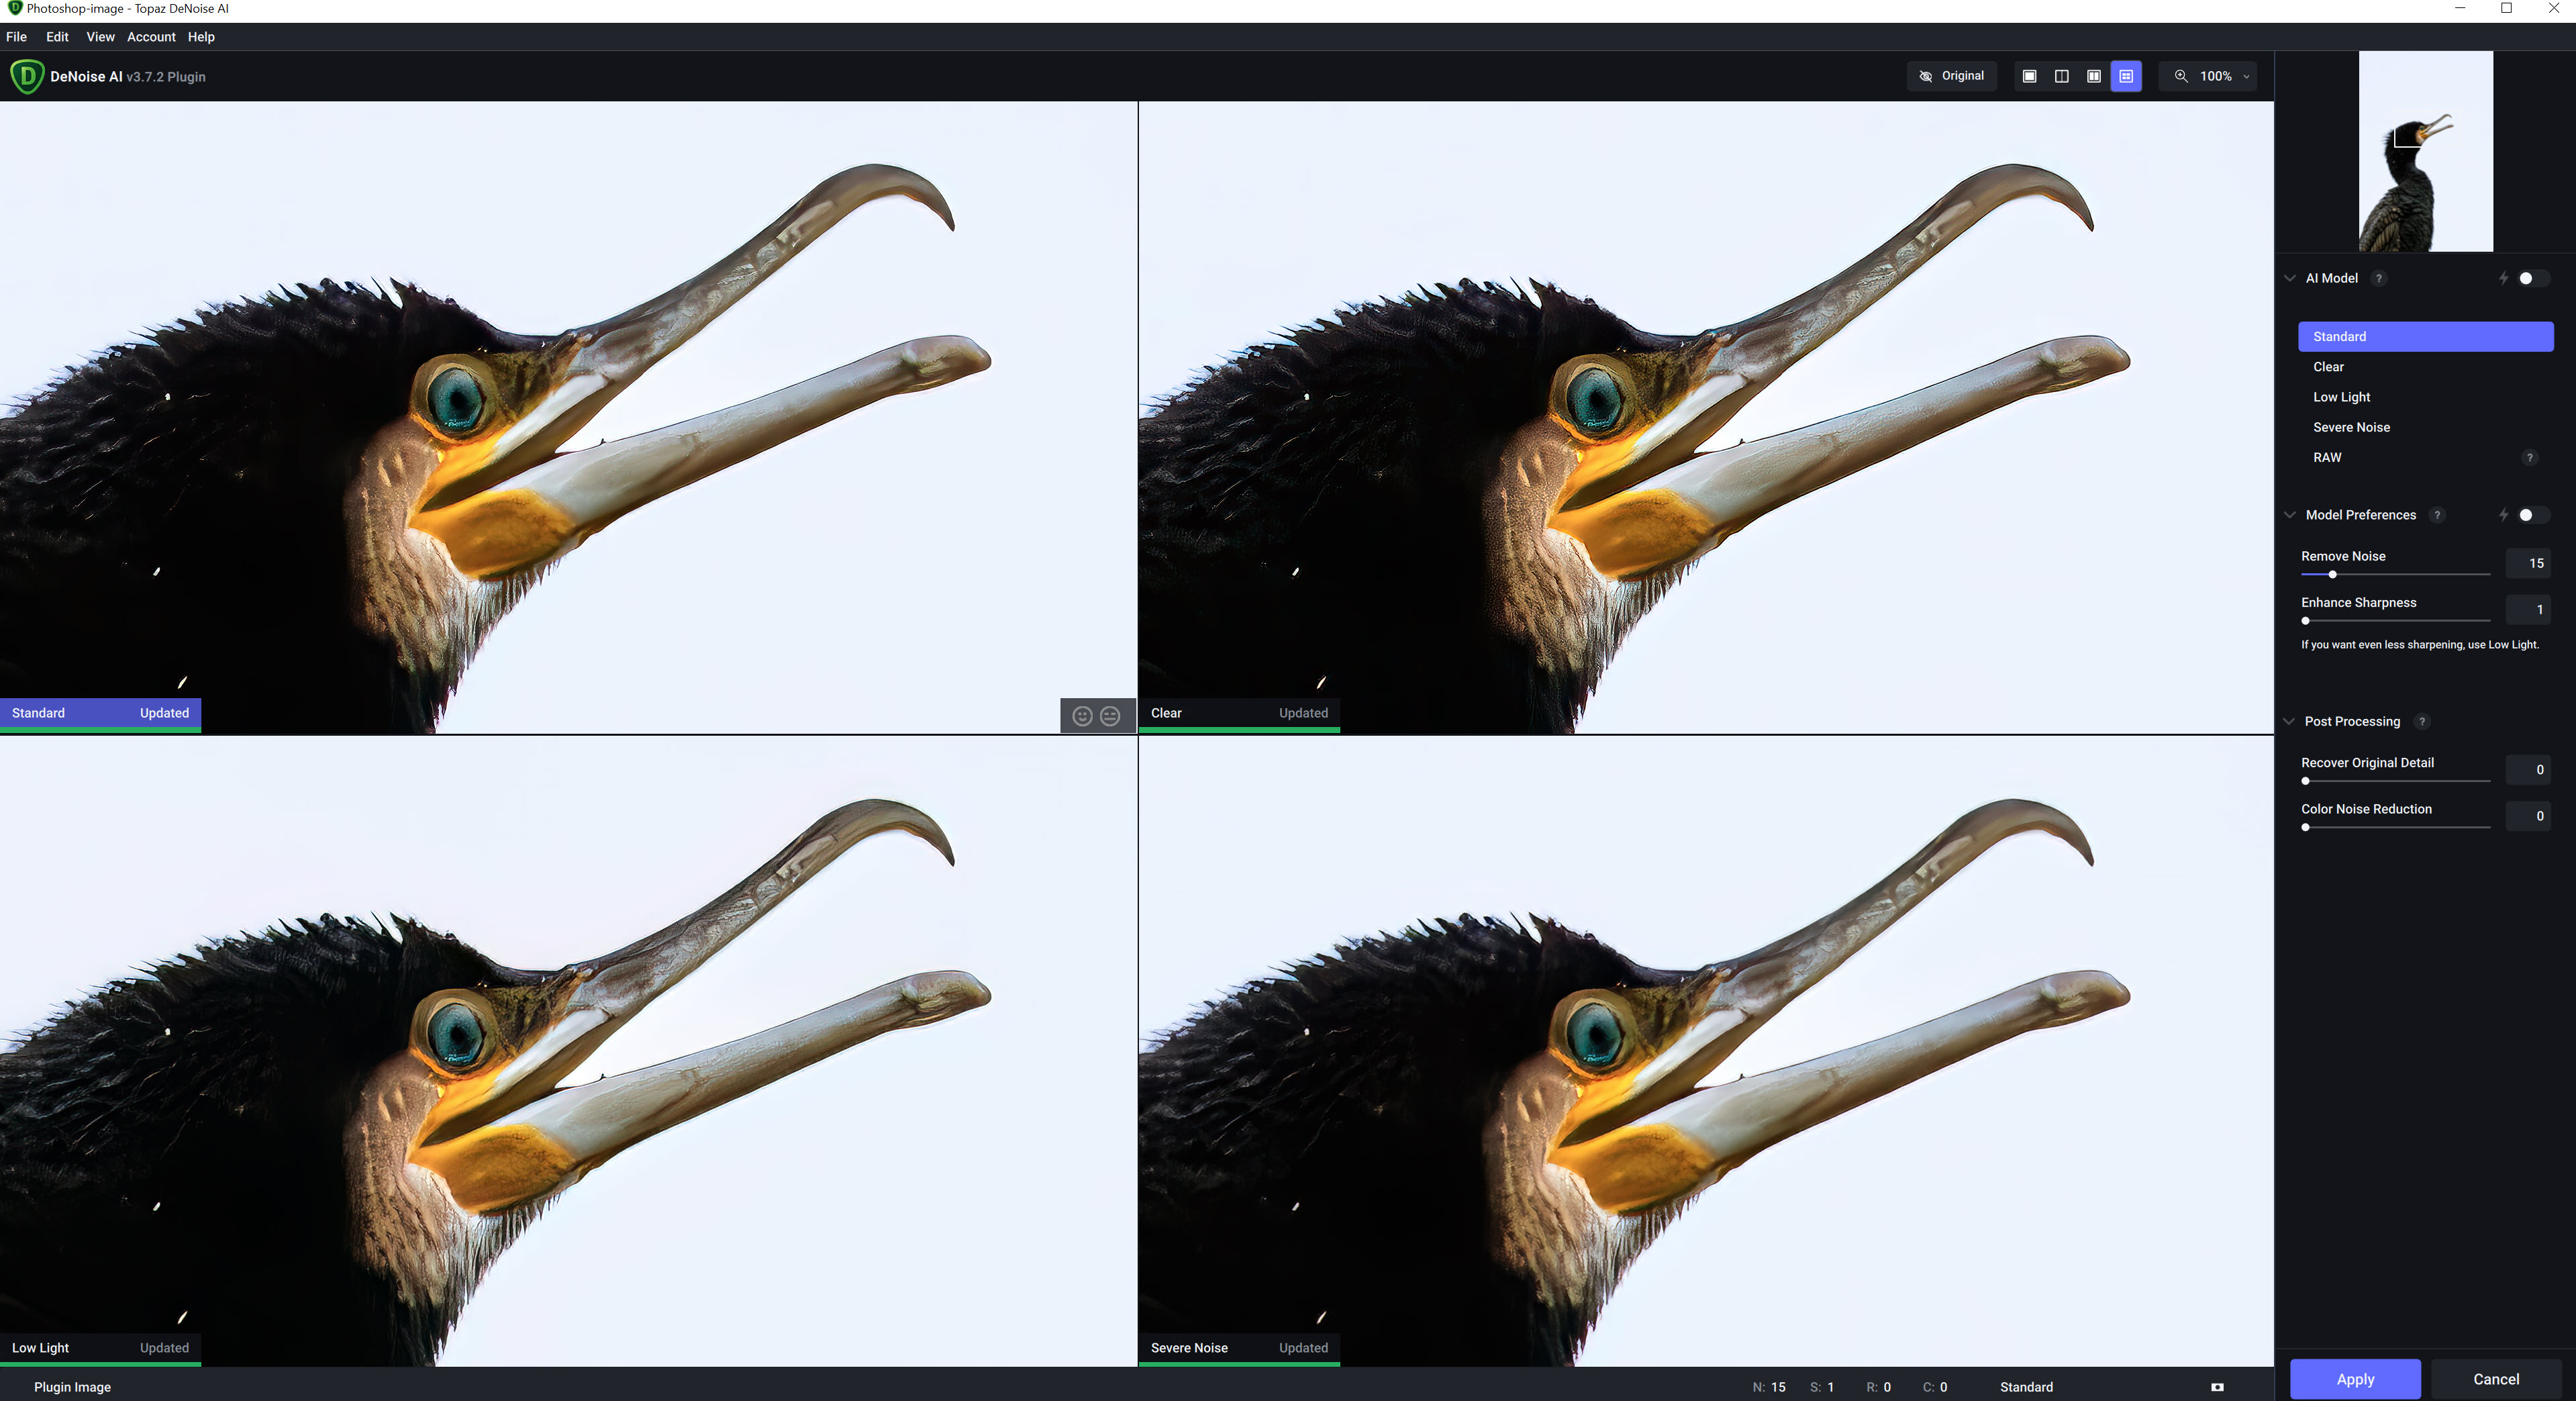
In Photoshop, I use Topaz Denoise AI as a filter for denoising when I don't have a RAW file. Denoise is started with Filter > Topaz Labs > Topaz DeNoise AI.
DeNoise gives me suggestions for the Standard, Clear, Low Light and Extreme Noise variants, from which I select the one I like best. I adjust this a little if necessary.
I prefer strong colours, so I use the Adobe Vivid colour profile. To make editing easier, I’ve created a simple preset that also sets the white balance to 5500K. This value can be adjusted later if necessary.
Next, I crop the image and align it. I usually stick to the 3:2 aspect ratio in landscape format, but I also use portrait format if I think the subject requires it. I rarely use other formats.
When cropping, I try to position the most important part at the intersection of the lines of the golden ratio, not according to the rule of thirds as is so often the case.
After cropping, the image is checked for any distracting elements: dirt on the sensor, water marks or lint on the lens, or elements left over from the cropping process. These are removed using the tools available in Lightroom. I also make use of the AI features in Lightroom.
If that doesn’t work, these elements are removed later in Photoshop.
Next, I edit the contrast and brightness. To do this, I let Lightroom suggest a value for the white and black points, which I either accept or adjust. I use the predefined Strong Contrast curve as the gradation curve.
If an area becomes too dark, I lighten it again with Depth. Rarely does it happen that something becomes too light for me. Then I pull down the highlights.
Finally, I adjust the brightness.
Once the brightness and contrast are set, I move on to the colours.
If I don't like the white balance, I adjust it and also change the tint, for which I let Lightroom suggest a value.
The colours are adjusted a little with saturation and presence and finally the impression of sharpness is improved with clarity and structure. I don't go above 40 for clarity, the structure slider is not raised that high.
Masks can be used to edit individual parts of the shot. I usually use at least 2 masks: one to edit the subject, another to create an (almost invisible) vignette ... There may also be other masks, for example to lighten the eyes or blur the background.
When selecting the main subject, I don’t use the Subject Mask, but rather the Object Mask in Lightroom, which I find produces better results. I refine the result by intersecting the mask with a second object selection. The mask is then refined using brushes.
Once the mask is ready, I make the initial adjustments to the subject. For vertebrates, I tweak the white balance slightly. A setting of +5 makes the subject slightly warmer to make it stand out from the background. The selected subject is then sharpened further in Lightroom. In addition, there may be further adjustments such as lifting shadows or darkening areas that are too bright.
I add a vignette to the image to finish it off on the outside. However, I don't use the standard vignette under Effects, but create an ellipse under Mask with radial filter, which clearly protrudes beyond the image. The exposure is reduced by 0.5 f-stops and the radial filter is inverted.
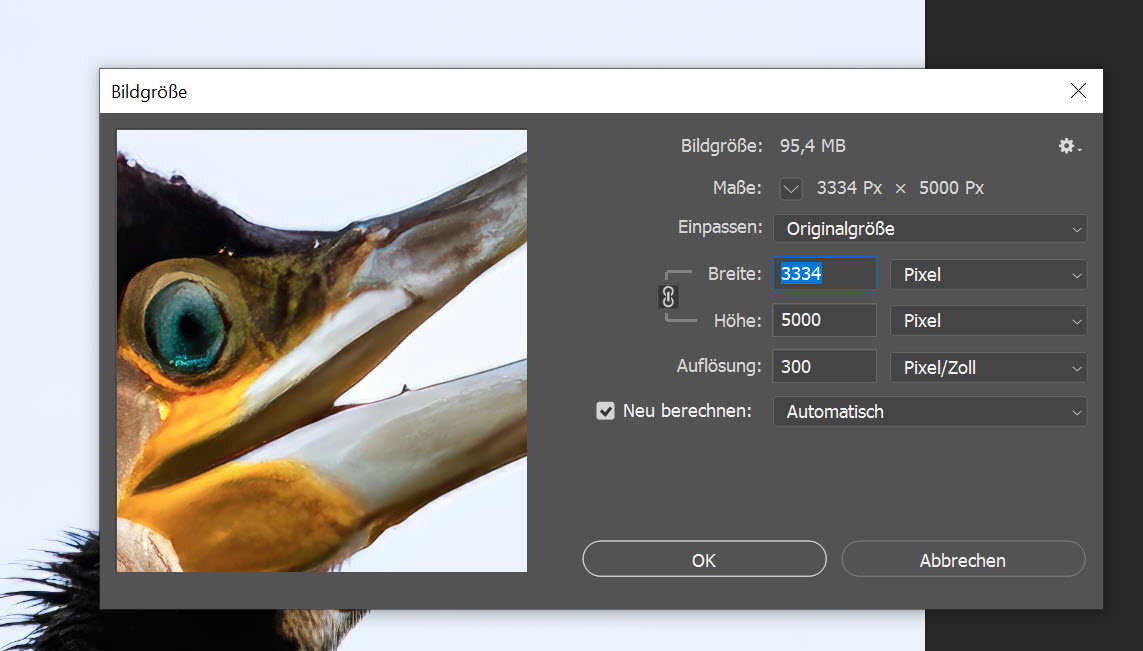
As I want to have my images in standardised sizes, I adjust them in Photoshop. I usually use the Photoshop function Image > Image size. There I enter the desired size for the longest edge (3000 px or 5000 px) and apply the other settings. For the sake of simplicity, I have created actions in Photoshop that I only have to trigger.
Most of the time, Lightroom’s retouching tools are enough for me. However, there are occasions when these tools aren’t sufficient. In those cases, I turn to Photoshop, which offers more advanced options.
I mainly use two features:
- Content-Aware Fill
- Erase
For noticeably brighter patches in the background that distract the viewer, I find the Content-Aware Fill function works well.
As I don’t have a precise selection for this, I use the Lasso tool to draw a rough outline. I access the function via Edit > Content-Aware Fill.
Finally, I sharpen my photos in Photoshop, as it offers better options than Lightroom.
For sharpening, I use an action created by a South African wildlife photographer, which applies high-pass sharpening only to the subject. As this copies the image layer and converts it into a smart object, the sharpening can be easily undone and edited. The action does not sharpen the entire image, but only the subject.
Finally, I save the edited image back to Lightroom, where a new file is created.